I'm Ashley Butcher! Wife of Willie, or some people may have noticed on Facebook that he's now "Will". LOL He's gotten an earful from SO many people over that! I'm a mom of 2, yes count them, TWO little girls. Molly is almost 2 and Claire is almost 10 weeks! I'm still a stay at home mom living in Wake Forest, NC.
Wow how things have changed since the last time I blogged. At that time I had one child who was 8 months old, was about to travel to Alaska to visit my sister in-law and family, and the ultimate fangirl of pop culture! (I guess some things never change :-) )
I don't even know how to restart this blog... do I start where I left off?
Or do I just pick up where life is now?
I, my friend, am going with the latter.
So, here we go! First blog in nearly a year and a half!
* * * * * * * * * * * * * * * * * * * * * * * * * * *
While my parents were in Nashville, TN visiting Sam, I worked at Two Old Birds. I have a small section at the shop with hand painted signs, scarves and other accessories. It's my little side hustle since I'm a stay at home mom! A friendly customer came in on Saturday and picked up one of the scarves. She asked if I have ever seen a scarf turned shrug/vest. What an interesting idea! She couldn't remember how to do it, so I decided to do a little research.
Here is my tutorial... ENJOY!
Hope no one is offended by my skull scarf! I love it... my Alexander McQueen look alike-ish!
(I could always wish for the real deal, but really? $295 for a scarf is not in my budget! I'll stick with my $12 purchase!)
Use a LONG scarf! I tried with a few different types, but one with more of a loose feel seems to have a flirtier/floatier outcome.
Step 1: Lay the scarf out flat (as shown below)

Step 2: Fold Scarf in half
(imagine image with skulls facing top to bottom)
I can't manage to rotate pic like I need to!

Step 3: Join together corner of folded end with the same side corner where fabric meets

Step 4: Tie in a knot
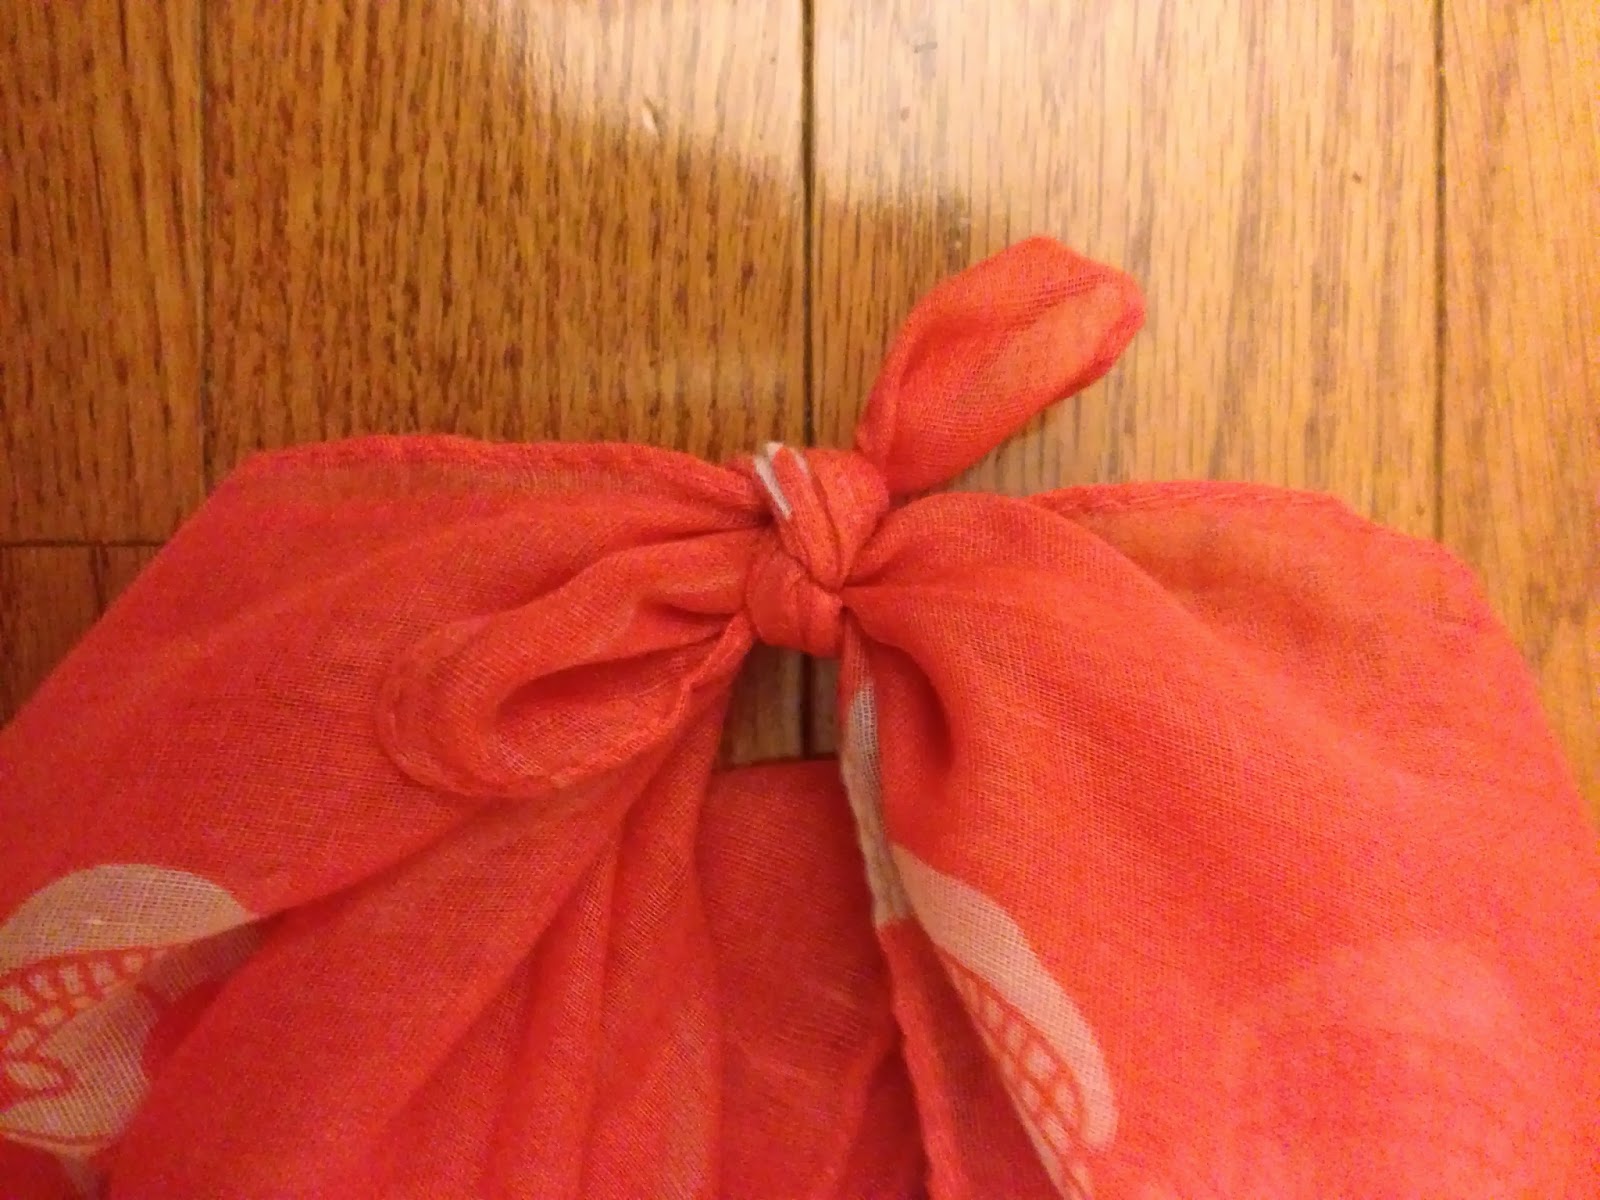
Step 5: Voila! Armholes!

Congrats! You've just created a customized shrug!

If you prefer a shorter gathered look, tie the hanging ends up to your shoulders

(shown here)

This is my first HOW-TO so go easy one me! It's tough stuff!

PS-- I feel like such a cheese being the model! Next time (if there is one) I'll find someone else! LOL!
Yay!!! So glad you have come back LOL! I kept holding on.... And I love the new name for the blog, too cute!
ReplyDeleteDitto to Sara...super cute new name and when I saw your FB post about making this, I thought, this would be great if she still had her blog! And, here you are! PS- did you follow the same steps for creating that grayish one you posted on FB? I think we need a kiddo playdate where you teach us how to make this! :)
ReplyDelete